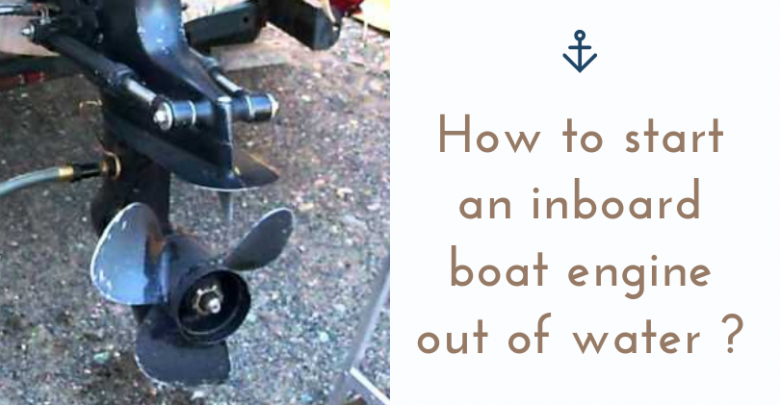
How to start an inboard boat engine out of water – Advice from the expert
Like everything else, boats require regular maintenance.
One of the steps in the maintenance process is flushing the water out, but if you run the engine without water, it will get damaged. This is why you need to attach a hose and ensure that the engine always has a motor source.
The problem is that this process has quite a few steps that not many are aware of. The latest models come with built-in attachments for the same, making it easy. That is why there isn’t a lot of noise about it. But what about older models? If you have one of those and need help, we are here for you!
How to start an inboard boat engine out of water
We have broken our guide down into 3 chunks to make it easy for you to follow.
Gather the requirements
To start an inboard boat engine out of the water, you need to attach motor flusher muffs and a hose. Below are the steps for the same:
- Bring out the manual and learn where the intakes are. If you already have attachments for a hose, you are in luck. Otherwise, you will need to buy the muffs.
- Lower the engine, but make sure it is vertical. It should not be tilted.
- Find the intakes and attach the hose nozzle. For this as well, you may have instructions in your manual. Make sure you follow them.
- Those who need muffs can easily purchase them from any sporting goods store. They are also available online. Wet your muffs so that they seal better and then clamp them. After this, simply attach (screw) the hose to the nozzle of your muff.
Start the engine
Now that everything you need is in place let’s see how you should start the engine.
- The first step is to turn the water tap on with the appropriate water pressure setting.
- Now shift the engine of your boat into neutral. Remember that even when you are running the boat, the engine must remain in neutral gear only.
- Use your key to get the engine started.
- You will see that water is coming out of the top of your motor. This is a sign that the process is going correctly. If you don’t see a stream, you should exercise caution. Turn the engine off and check if there’s debris in the tube. Use a thin wire for this. If the problem persists, you need professional help.
Flush the motor out
Before you begin this step, you should ensure that the engine has been running for around 10 minutes. After that, follow the following:
- Switch the engine off and then turn the water off. (These steps are not interchangeable.)
- Remove the hose and the muffs.
- Allow the water to drain. This will take anywhere between 30 and 60 minutes.
- Now tilt your engine back to its place.
You are done!
While the whole thing can be time-consuming, it is a must to ensure proper functioning. We advise that you do this after every trip on your boat. It will keep it in tip-top condition.
Also, if, at any point, you feel like there’s something wrong, please call the professional immediately. Fiddling with the system can damage the boat. This is specifically in reference to the engine. If water is not streaming out, there is a problem. Don’t ignore it.
We hope you can now follow the whole procedure without any issues. If you still have questions, please don’t hesitate to ask.